A Beginner's Introduction to Web Deployment
Published on Mar 27 2022
Last updated on Apr 23 2024
Before we jump into the nature of web deployment, let's review web hosting and see the differences between web hosting and web deployment.
Web hosting is a service provided by web hosts, a.k.a web hosting service providers, which allows you to host website(s) or web application(s) on the internet.
Suggested Reading: The Full Guide into Web Hosting
Web Hosting vs. Web Deployment
While web hosting is a service provided to you by web hosts, web deployment is a process in which you deliver you code (for your web application) from your local environment (your local computer) to a public server.
You can read this article to read more about their differences, I like to think of them as two sides of a door in their similarity, yet you need both of them to form a door and make it works.
Getting started
What is Web Deployment?
Web deployment can be defined in various ways:
It's the process of moving your local code from your local computer to a live, public server to make your website live.
It's the step to make your project available to the world for people to use.
It's when you ship your application from the development environment to your production environment.
A development environment is the environment where the developers work on, while a production environment is the environment distributed to the customers. A development version might differ from a production version.
In short, web deployment is taking your code from your computer and turning it into a website that is live for people to visit the view.
A quick history of web deployment
Back in the good old day, setting up a simple web application takes lot of effort and is very time consuming. In order to deploy your site, you have to manually copy your code from your local computer and paste it into a server (typically another computer) via SSH (Secure Shell) or FTP(Fire Transfer Protocol). You then are responsible for maintaining as well as configuring the server yourself.
With modern web tooling and technologies such as cloud computing, CI/CD (Continuous Integration and Continuous Delivery), and deployment tools like Vercel and Netlify, you can now deploy your code on a remote server stress-free and use your precious time on improving important features for your application.
General steps to set up your website deployment
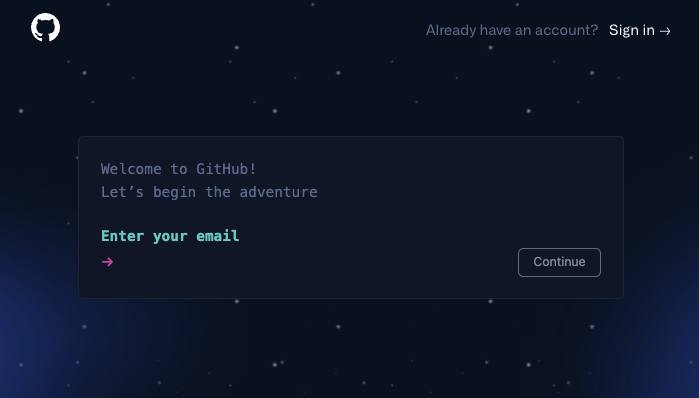
Step 1: Using a Git code hosting service as the source of truth for your code
Using a Git code managing service allows you to make changes to your code remotely, meaning from your local copy. These services also track modifications and updates to your source code repository, enabling CI/CD. You will have access to a record containing all your changes history and freely revert to a previous version of your application.
I recommend using GitHub, GitLab, or Bitbucket as your source code manager.
NOTE: You need to install git if it's not already installed. You can find a detailed instruction on how to install git here.
Here, I will be using GitHub but feel free to use other Git code managing service, these set up processes should be similar to each other.
Step 2: Create a repository on your Git code manager and initialize your local repository
If you are using GitHub, after signing in to your account, you should be able to create a new GitHub repository by clicking on the New button on your main dashboard page.

You will then name your repository, and configure it. You can use my configuration for now, it's simple and self-explanatory. When you are done, click Create repository.
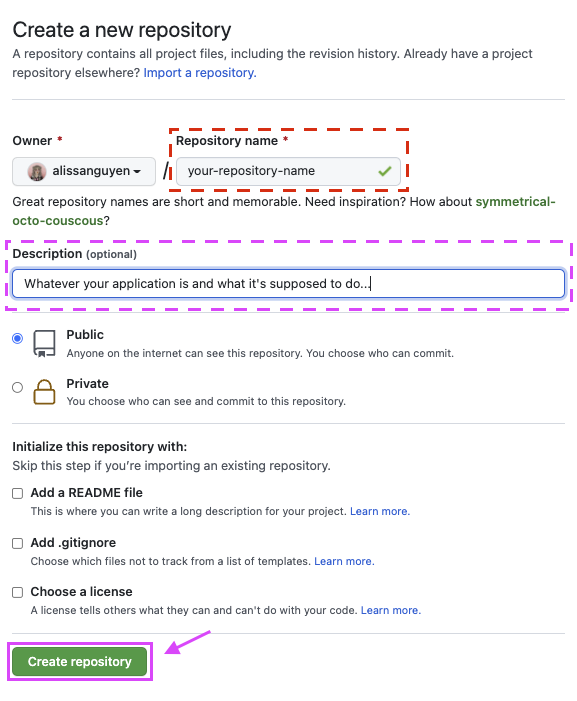
Now, your repository currently has no files in it. You can choose to import your source code into your repository manually from the website or you can achieve the same using git CLIs in your terminal, which I will briefly walk you through in the next step. I suggest using the CLIs since getting use to this practice will save your time in the future.
Step 3: Initialize your local repository and push your source code to your Git manager service
Now on your local computer, go to the folder/directory where your source code is and type in the below command lines in your terminal:
1git init2git add README.md3git commit -m "Initial commit"4git branch -M main5git remote add origin <URL_OF_GITHUB_REPO>6git push -u origin main
git initwill initialize a git repository in the root of your folder.git branch -M mainwill rename your current branch to "main" (default is master)echo "My first project" >> README.mdwill create a file called "README.md" with the text "My first project"git add -Awill stage the README.md file you just created.git commit -m "Initial commit"will commit your change (adding all your file into the git repository you just created).git remote add origin <URL_OF_GITHUB_REPO>will tell your local git repository to upload itself to the GitHub repository you created in step 3 when you rungit push.git push -u origin mainwill push the commit to your GitHub repository.
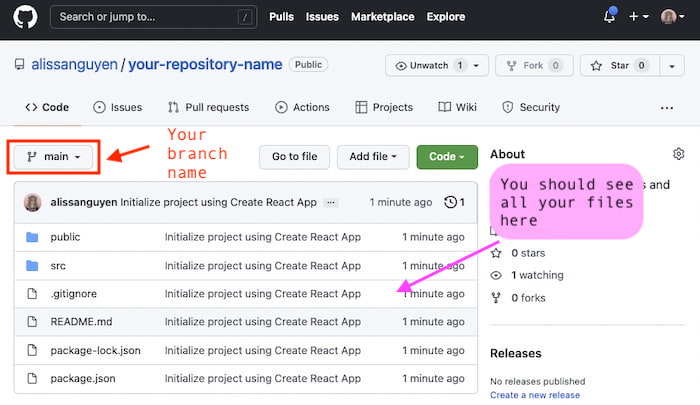
After running the above commands, you should get a screen similar to the following:
Step 4: Link your repository to a deployment service tool
Cool, now you have GitHub managing your source code for you. Let's link your deployment service to your GitHub repository. Two of my most used deployment platforms are Vercel and Netlify. You can check out my guide on deploying with Netlify here.
Here I will walk you through how to deploy with Vercel. You should also check out their documentation on deployments here.
First, go to vercel.com and sign up with GitHub if you haven't done so. Then click on New Project.

Vercel will show you a list of GitHub repositories to choose from, pick the repository you created in step 2 (or whichever repository you want to deploy) and click Import.
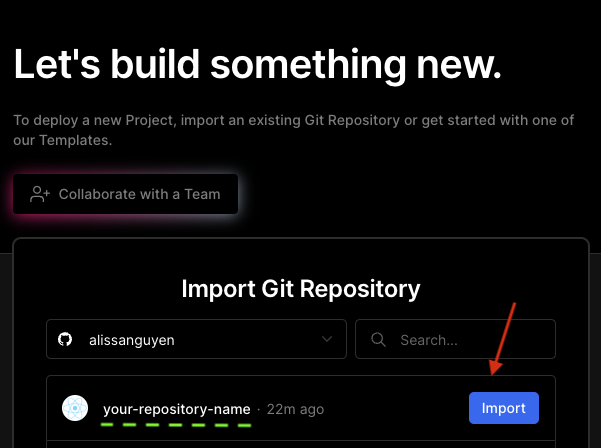
Vercel will detect your framework (here I am using Create React App) and set the right configuration for you. You can make changes in the future if the deployment fails.
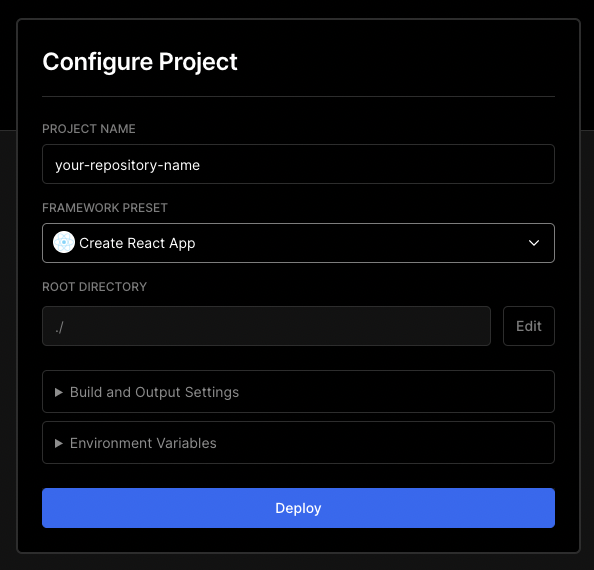
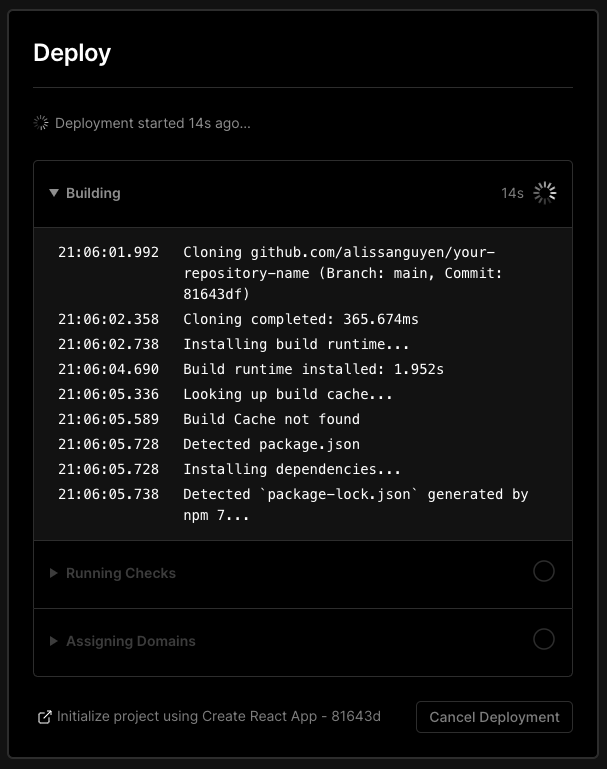
After you deploy, Vercel will start building your website, you can observe the process while waiting.
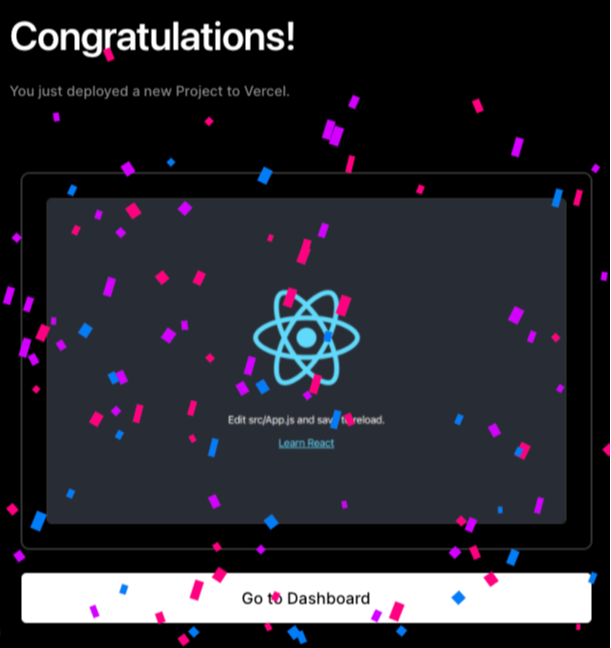
Woohoo! 🎉🥳
You just successfully deployed your site!
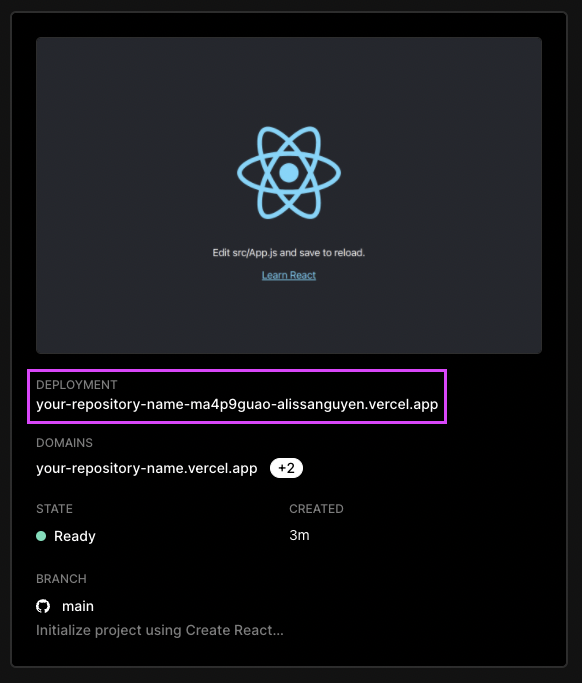
You can go back to dashboard and view your site by clicking on the URL Vercel created for you.
Conclusion
Nowadays, the best way to deploy your web applications is through a deployment platform. Platforms such as Vercel, Netlify, or Heroku makes the process of web deployment smooth, instant, and scalable. Finally, these tools free you from the responsibility of maintaining your server as well as optimize your cost management.

Written by Alissa Nguyen
FollowAlissa Nguyen is a software engineer with main focus is on building better software with latest technologies and frameworks such as Remix, React, and TailwindCSS. She is currently working on some side projects, exploring her hobbies, and living with her two kitties.
Learn more about me
If you found this article helpful.
You will love these ones as well.
